
Photo by RetroSupply on Unsplash
An alternative to various blogging services is to build it yourself. There are many providers and solutions. The one described today is a "static" and low cost solution.
"Static" in context of a website does not mean the content never changes. What is meant by "static" is that the main content of a site is generated in advance, rather than when each request is made. To contrast, WordPress is a good example of a platform that generates responses to request in a dynamic fashion.
Low cost in the sense of the spend is roughly less than $1 per month, excluding domain name registration and DNS service.
Some light samples of the commands to be ran are included - however it is recommended to follow the references to get more detail.
Solution
The infrastructure will reside in AWS (Amazon Web Services), using a few services & tools:
-
CloudFront: Amazon's low cost Content Delivery Network (CDN)
- Also provides HTTPS
-
S3: Object-based storage. This is where the content will reside.
-
Cloud Development Kit (CDK): A framework used to create CloudFormation templates/stacks, which in turn, create resources in AWS.
The static site content will be generated using Pelican, which is a python based tool.
Deploy the infrastructure
There are many samples for CDK available. One of interest is the python static site project
1. Clone/download the AWS CDK samples and copy the python static site folder out.
2. Install python3, pip, and virtualenv
- OS specific step, but for Linux, apt or yum might be the command to use
3. Download and install the stable version of nodejs, by following the instructions on the nodejs site
4. Create a Python virtualenv, activate virtualenv, and install requirements.txt packages.
virtualenv .venv
source .venv/bin/activate
pip install -r requirements.txt
5. Install cdk
npm install -g aws-cdk
6. Edit the cdk.json file to specify the correct domain, host zone, etc.
7. Deploy the cdk project to AWS
cdk deploy
Check the site
Things don't look good…but don't worry these errors are expected because there is no content yet.
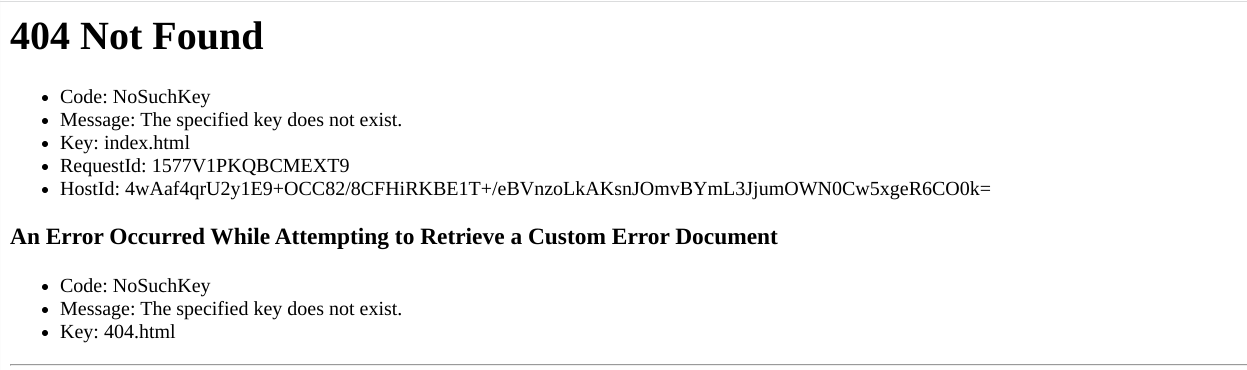
Oh no…an error!
Generate and deploy the content
Now it's time to create the pelican project
1. Create a directory to contain the pelican project and switch to it
2. Create a Python virtual environment and switch to it (same steps as before)
3. Install Pelican
pip install "pelican[markdown]"
4. Generate the Pelican config/site. Make sure to specify the S3 bucket deploy method.
pelican-quickstart
5. Preview the site locally by running the command below and then go to http://localhost:8000
pelican -r -l
6. Generate and deploy the site to the S3 bucket
make html
make s3_upload
Check the site…again
The site looks much better - though it needs more content!
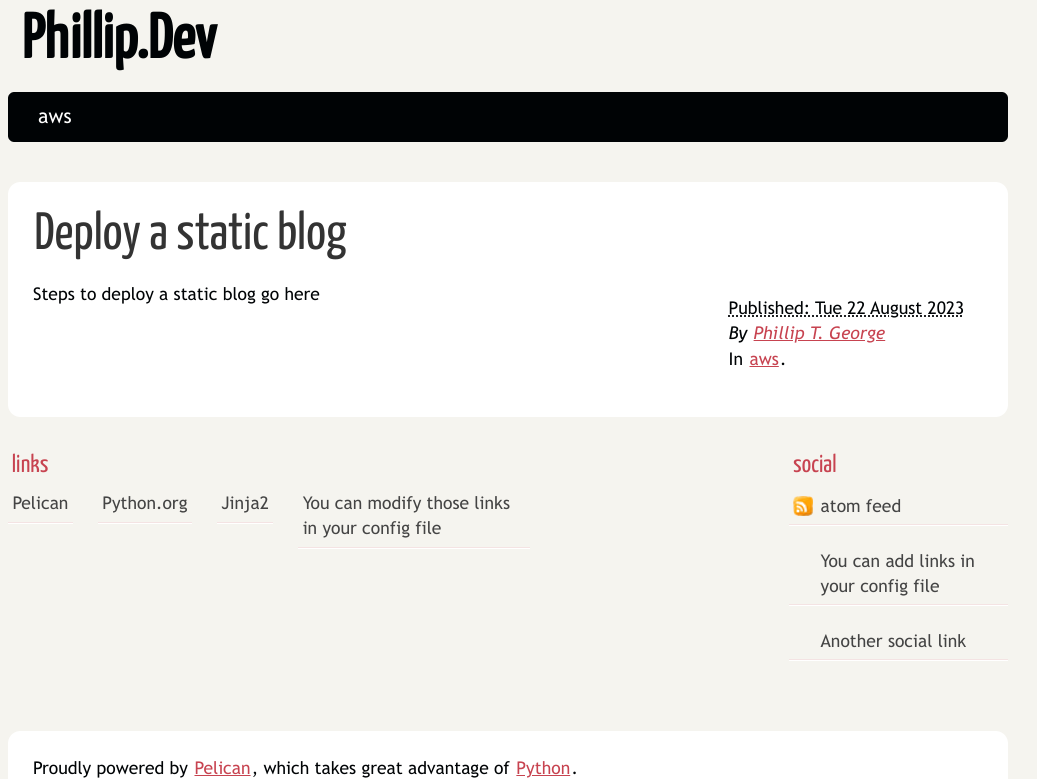
Content deployed to the site
Next steps
While this is a nearly complete solution…it is not as maintainable as it should be. See into these particulars:
- Version control
- CI/CD
- CloudFront access logs